|
December 16, 2014 03:17:58
Posted By Kepler Lam
|
Just finish the teaching of a UCCX class, one of the topics that the participants are interested is the creation of additional language. In fact, its not so difficult, here is the high level steps:
- Globally define an additional language and select the default language of a language group
- Create the corresponding language folder for different resources (e.g. prompt)
- In your script, add steps for user to select language
Let’s discuss them one by one.
Step 1.
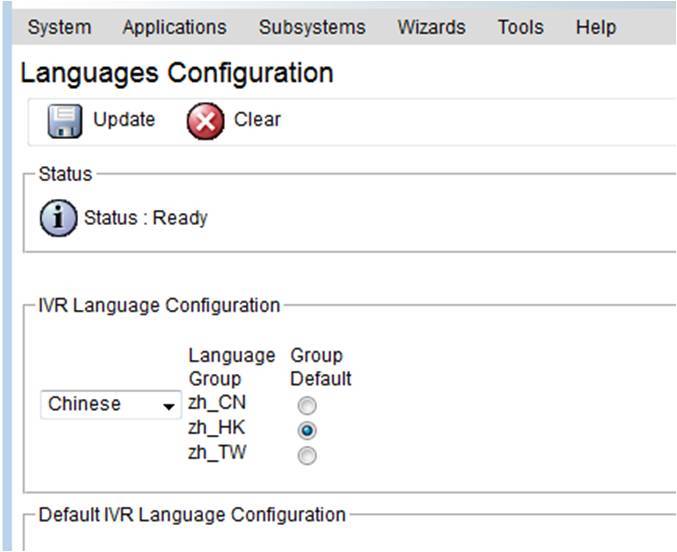
Login to the UCCX administration web portal, under System>Language information, select a new language that you want to configure (e.g. Chinese), then select the corresponding default for that group (e.g. Hong Kong Chinese).
Step 2.
Now navigate to the corresponding resources that you will use in the script, e.g. your script has a welcome prompt, then go to the Application>Prompt Management. Click Create Language, then under the popup window, select the new language (e.g. Chinese (HK) which will have a mnemonic as zh_HK) that you need to create.
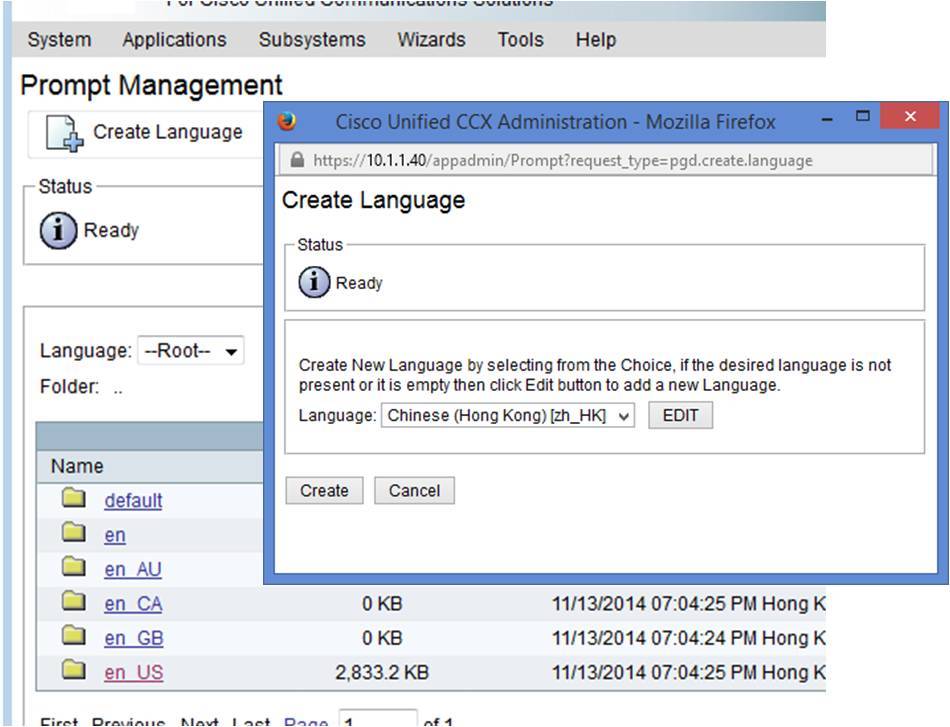
A new folder with the name of the mnemonic will be created. Browse into that folder, and in the corresponding location (that your script refer, using same hierarchy as other language), upload your new prompt in the new language.
Step 3.
Then under your script, you should normally let the user select the language at the beginning of the session. So record a prompt for language selection e.g. “1 for English and 2 for Chinese”. Place this prompt file under the default language (say English) folder.
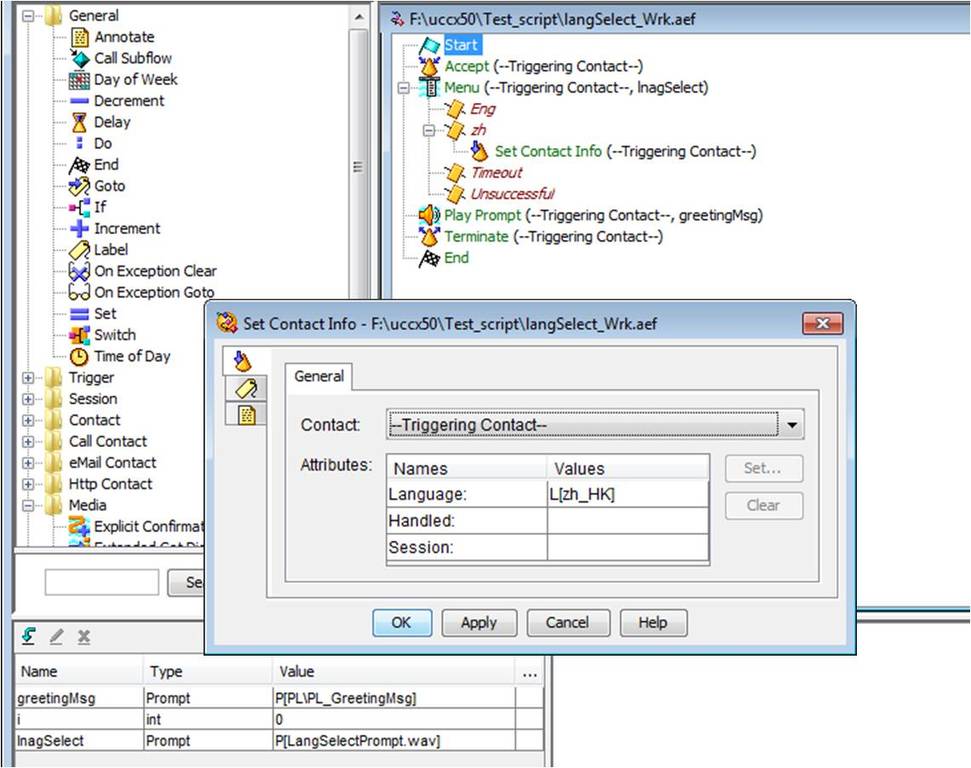
In your script, after accept the session, place a menu step using the language selection prompt. Create different language branch in this menu step, according to the selections spoken in the prompt. E.g. Eng branch when user press 1, zh branch when user select 2.
For the default language branch say Eng, you may not need to do anything. Yet for the other language branch, put a Set Contact Info step. Open the property of this step, under the general tab, put the corresponding value of the language for the language attribute.
Then that’s all. Subsequent flow of your script is the same as before, all your prompt reference is the same as your default language. As once the session change to other language, it will just get the prompt on the correct location of the corresponding language folder.
|
|
October 27, 2014 10:20:54
Posted By Kepler Lam
|
In previous blog entries, I have discussed how to configure the Jabber client without using the IM. In this blog, I want to discuss the opposite way i.e. configure IM only Jabber client (even without the LDAP).
Basically, it’s quite straight forward, just follow the 3 steps below:
- Configure end user in CUCM
- Start the Jabber to connect to the IM server
- Add local contact
Step 1. Configure end user in CUCM
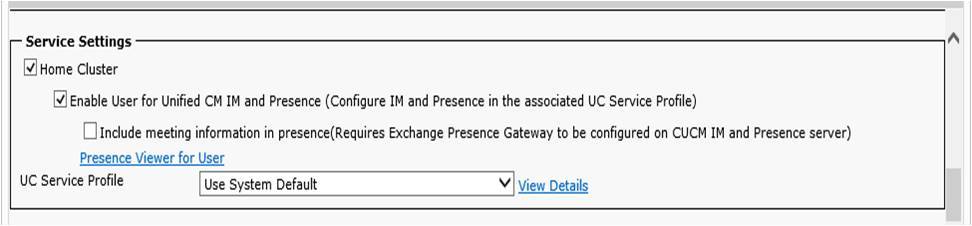
Under CUCM, navigate to User Management > End User. Add or edit enend user, Check the Enable User for Unified CM IM and Presence field, and also add the user to Standard CCM End Users if not yet added.
Step 2. Start the Jabber to connect to the IM server
Now run your Jabber as shown below (you maybe asked to reset the Jabber, also if you are not using DNS, you need to add the CUCM in the local host file of your PC, please refer to this blog):

Step 3. Add local contact (if not using LDAP)
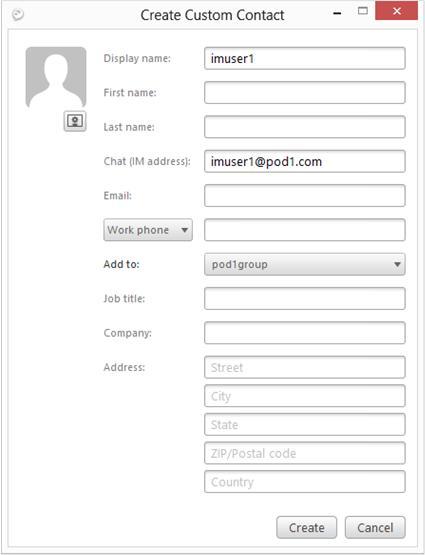
Now after login your Jabber, under the Setting > File > New > Custom contact to add a new local contact. The most important is the Chat (IM address), the username part is the other End User ID configured under CUCM, while the domain is the domain configured under the IM&P server:
You can add it to any group.
Then you should be able to chat with the other user.
|
|
September 23, 2014 05:02:58
Posted By Kepler Lam
|
Recently, just prepared a customized course about CUCM 10. One of the topics is about the Jabber on CUCM 10. It seems that it is not so clear about the Jabber integration with CUCM without the IM&P server (previous CUPS). As many of the Cisco documentation just mention how to configure Jabber to register to the IM&P server, without mentioning how to configure Jabber as a standalone (or desktop phone control) phone that doesn’t really need the IM&P. This blog entry wants to explain how to configure it.
Moreover, most of the configuration examples also involve the LDAP, DNS (though in real environment, most likely you will have those infrastructure components). Yet, you don’t need all those for the very basic configuration. All you need is:
- CUCM server (v10)
- Jabber client (v9 or 10) installed in your PC
Then you can immediately configure your Jabber as a softphone in just few steps. Here it is:
- Create a CSF device
- Add/Modify an End user
- Configure the Jabber in your PC
Step 1. Create a CSF device
Under Device > Phone, add a new phone with type Cisco Unified Client Services Framework. Specify a name for the CSF device in the Device Name. Configure all other necessary fields. Click Save.

Then configure a new directory number for the CSF device.

Step 2. Add/Modify an End user
Under User Management > End User, add or modify an end user. 
Associate the CSF phone you just created to the End user (or set the CSF device owner as the end user under step 1 above). 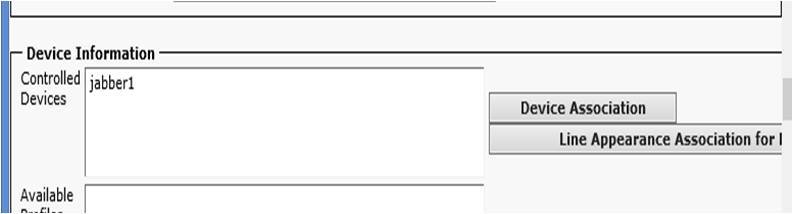
Then add the user to Standard CCM End User Group (this step is quite important, without that the Jabber will not able to login).

Please follow the other Blog entry Jabber setup without IM & Presence server (Part 2)
|
|
September 23, 2014 05:02:58
Posted By Kepler Lam
|
(Note: this blog entry follow the Jabber setup without IM & Presence server (Part 1))
Step 3. Configure the Jabber in your PC
Before that if you don’t have a DNS entry for your CUCM, you need to modify the Windows local host name table. Use any editor (e.g. notepad), edit the file \Windows\System32\drivers\etc\hosts, append the following lines to it:
<ip address of your CUCM> <hostname of your CUCM>
Again this step is very important, without it the Jabber will complain that unable to connect to the server.
Now, start your Jabber. The first time startup requires you to enter an Email address format user ID. Enter any dummy Email address format as user ID. Until it fails to connect, then you can choose the Advanced setting. Under the advanced settings, you can select the CUCM as your account type, also enter your CUCM server IP. Following is screen of Jabber 10-5. (Also tested with v9-7-4).

After save, login with the configured user. credential
Simply enough?
- Kepler
Certified Cisco Instructor
Certified Juniper Instructor
Certified H3C Instructor
Certified F5 Instructor
Unqaulified student of Jesus Christ
|
|
March 14, 2014 08:54:45
Posted By Kepler Lam
|
This week just finish teaching the ICOMM course, it reminds me a problem that I’ve been facing in a CUCM Active Directory integration project 2 years ago. The problem was after synchronizing the AD, as we have some time lag that some users are not ready in the AD, so those users become inactive in the CUCM.
As there should be a grace period that the CUCM will not immediately remove those users, so they are still in the CUCM’s configuration. However, as those users become inactive, they are not able to login the extension mobility.
Even we disable the AD sync, those users will not automatically change back to active again. Also, in the CUCM admin page, there is no option to reactive them. We tried to call up the TEC support to see if there is any “unofficial” way to reactive them. Yet, we can’t get any answer.
Eventually, I figure out that there is a solution to use the undocumented “run sql” command to directly change the CUCM database.
The following shows the way.
In CUCM, create 2 users that doesn’t exist in the AD before tuning on the AD sync, using the CUCM command line interface, you can use the following command to show the status:
admin:run sql select userid,status from enduser
userid status
============= ======
user2 1
user1 1
Now configure the AD sync and perform the sync once.

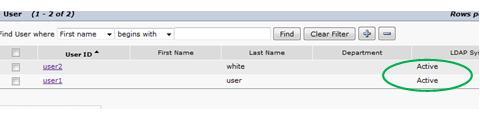
After the synchronization completes, these 2 users become inactive:
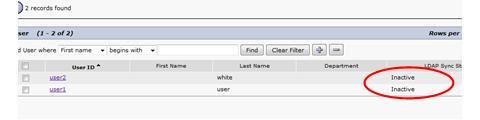
Double check using the CLI, the status also shown to be changed with new value as 2:
admin:run sql select userid,status from enduser
userid status
============= ======
user2 2
user1 2
If I tried to login the EM using one of the user account, you will get an error.
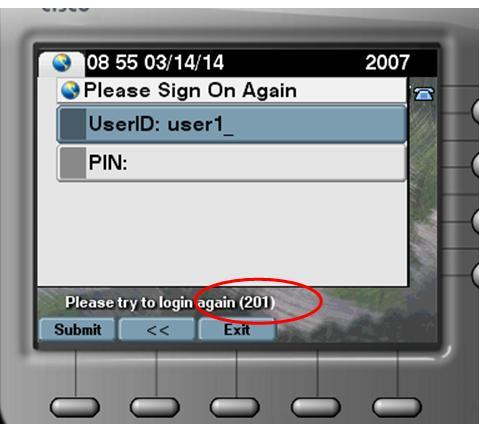
Even disable the AD sync, the user account still in inactive state.
Now using the CLI, execute the following command (optionally, you can add 'where userid="user"' to change a particular user):
admin:run sql update enduser set status=1
Rows: 2
admin:run sql select userid,status from enduser
userid status
============= ======
user2 1
user1 1
Check the status under the CUCM web interface, now they are back.
Also, able to login successfully.
|
|
|
|
